While nobody really cares how photographers do their own makeup (our faces are usually blocked by huge camera bodies and lenses anyway!), photographers are people too and, like the rest of humanity, share the burden of needing to look generally presentable in polite company.
Today I’m sharing the super simple makeup routine that I do for my day job every morning (except, of course, those blessed days when I get to work from home and look as disheveled as I please). A few things I love about this routine:
- It takes just five minutes to do. And that’s a wonderful thing when you love sleep as much as I do!
- It looks completely natural, and instead of looking like a whole other person, you get to look like a more awake, even-toned, and generally-aesthetically-pleasing version of yourself. So it’s a great look for lifestyle or family portraits.
- It’s super easy to build on if you want a more dramatic or glamorous look.
(DISCLAIMER: I am not a makeup guru by any means, and the products/techniques that I use are simply ones that work well for me personally. I would definitely recommend checking out some real makeup/beauty bloggers like Makeup Geek and Michelle Phan to learn more about specific techniques or recommended products. I’ll also be directing you to a few helpful tutorials along the way!)
Step 0: Cleanse and moisturize.
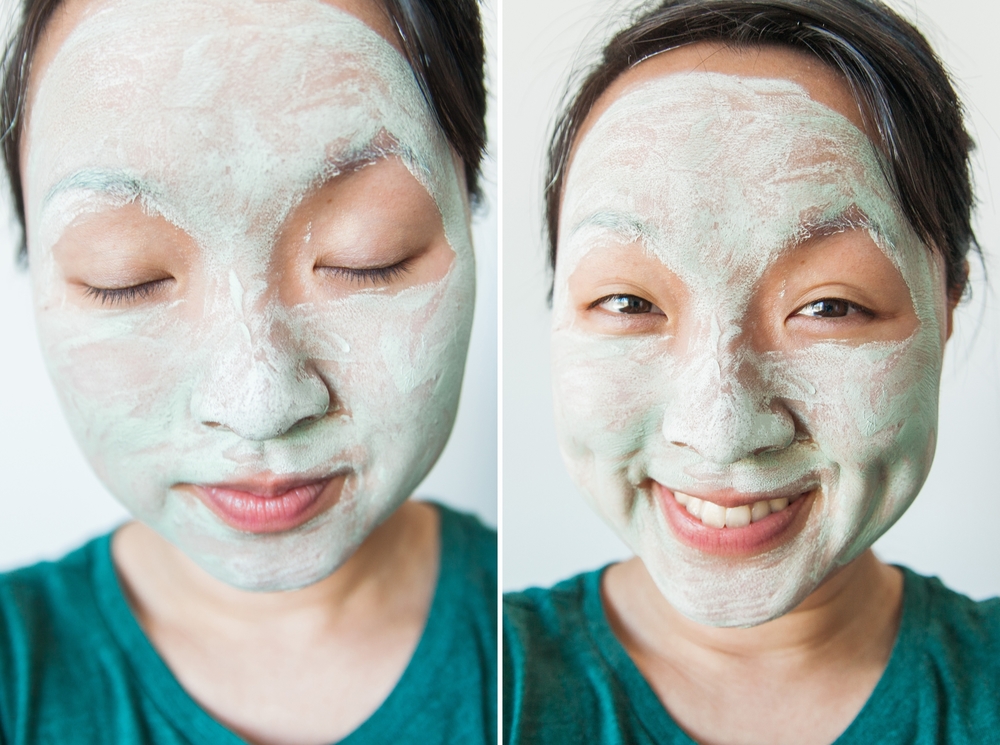
Got your attention, did I? 😉
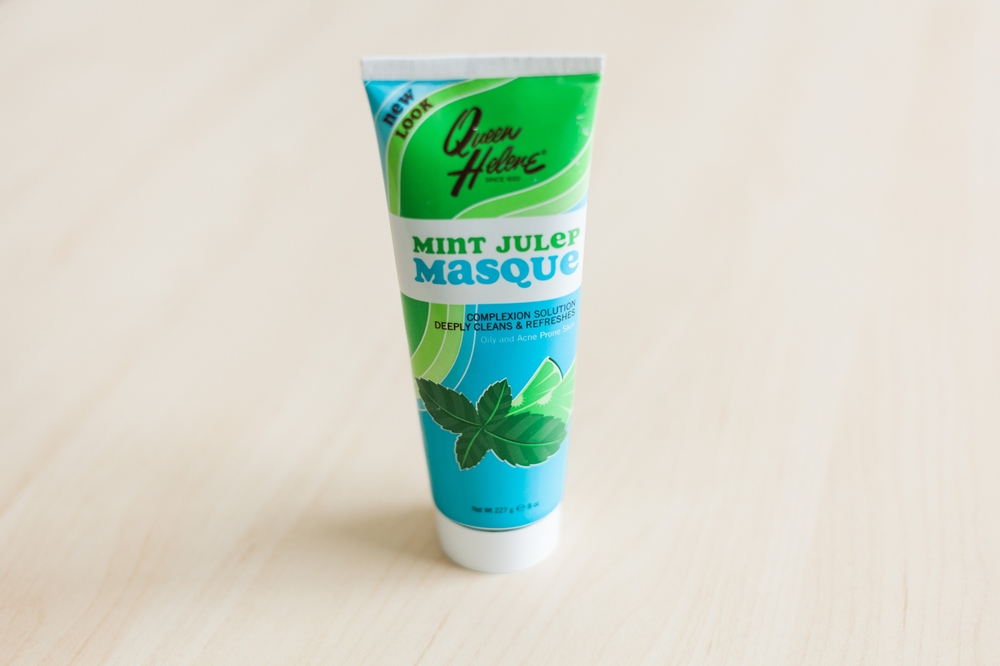
In all seriousness, though, whatever makeup products you use will look better if you take care of your skin on a daily basis (and applying moisturizer beforehand will help your foundation last longer). I’m a big fan of e.l.f.’s cleanser/soothing serum/moisturizer trio, and I also use Queen Helene Mint Julep Masque once a week for deep cleansing.


Here I am with a bare face, after cleansing and moisturizing. I’m lucky enough not to have any major skin issues (not missing you at all, high school!), but in general, my skin tends to be a bit dull and uneven, with random patches of rosiness (especially if I’ve just had a glass of wine) and more-visible-than-I’d-like pores on my cheeks and nose. I also look really, really sleepy. So let’s see what we can do to remedy this.
Step 1: Apply foundation and concealer.
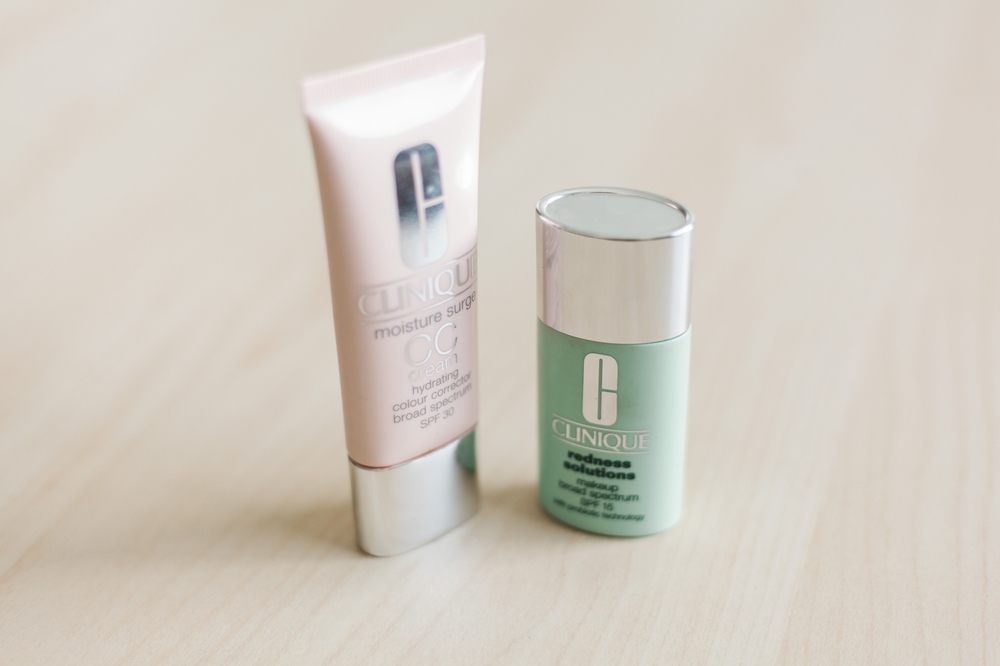
I’m usually pretty frugal when it comes to cosmetics, but I splurge a little on foundation because I love how weightless, blendable, and low-maintenance Clinique’s products are. When I’m having a good skin day and only need sheer coverage, I opt for Clinique’s Moisture Surge CC Cream SPF 30 (in Light), but if I really want to even out my rosy skin tone, I use Clinque’s Redness Solutions Makeup SPF 15 (in shade 02, Calming Fair).
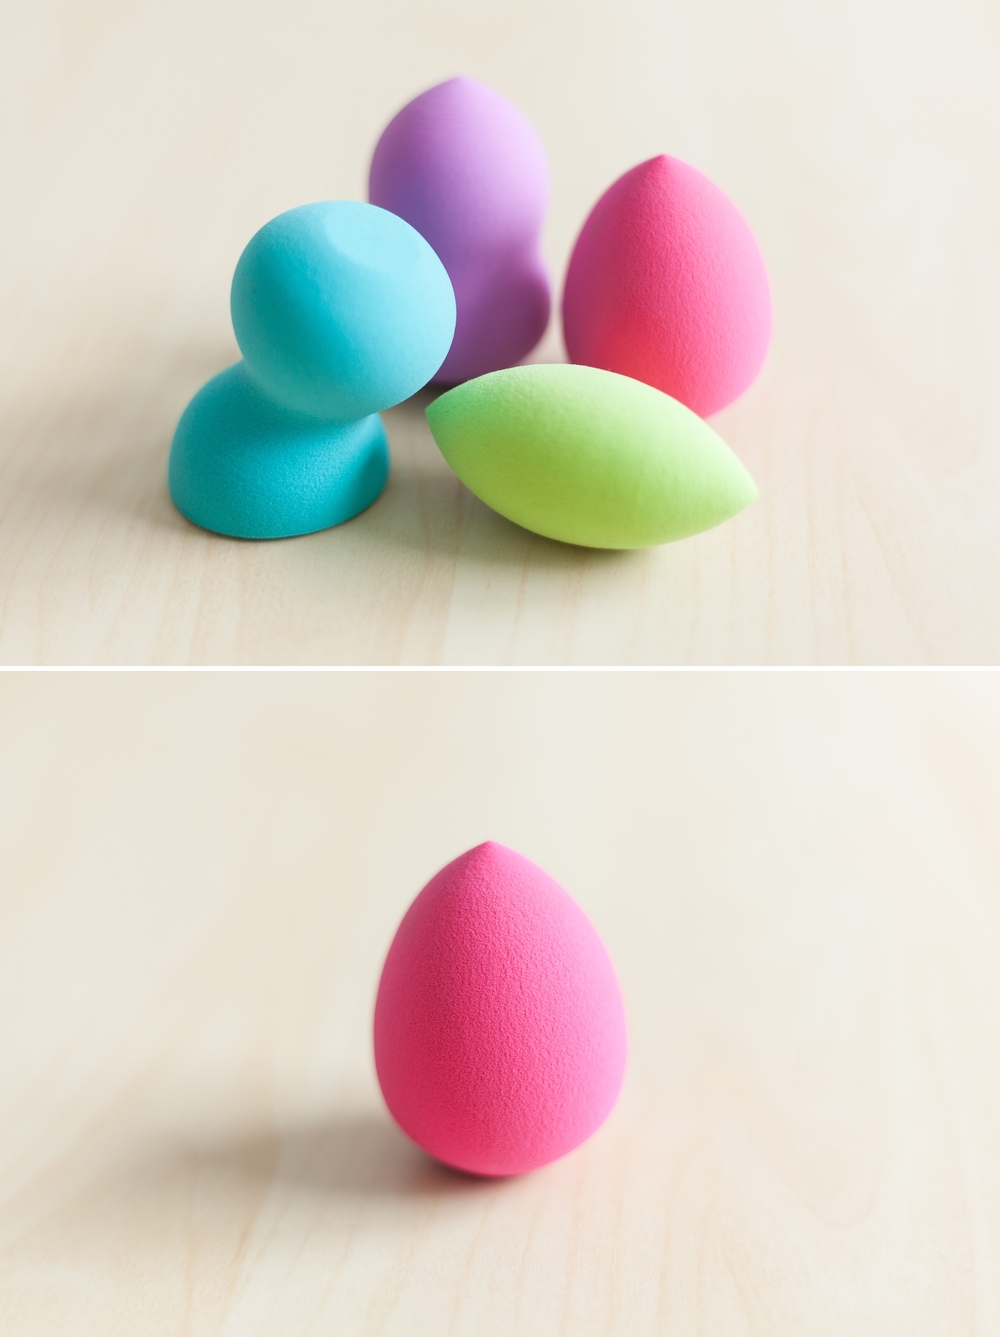
To apply my foundation, I always use a beauty sponge blender. These are sold everywhere now under various brands, and are absolutely indispensable in helping your foundation blend into your skin, avoiding a cakey or overdone look. Not to mention, they come in fun, colorful shapes and are soft and soothing during use.
I’m a fan of the PRO Beauty Sponge Blender Four Piece Set, which includes four different ergonomic shapes for different purposes. I really only use the pink teardrop, but the other ones just make me happy to look at!
After applying foundation, it’s time to spot-check. Thankfully I don’t have any noticeable zits at this time, so I’m just tackling the slight dark circles under my eyes. A favorite is IT Cosmetics Bye Bye Under Eye Anti-Aging Waterproof Concealer (in Neutral Medium).

 foundation and concealer, check!
Step 2: Contour!
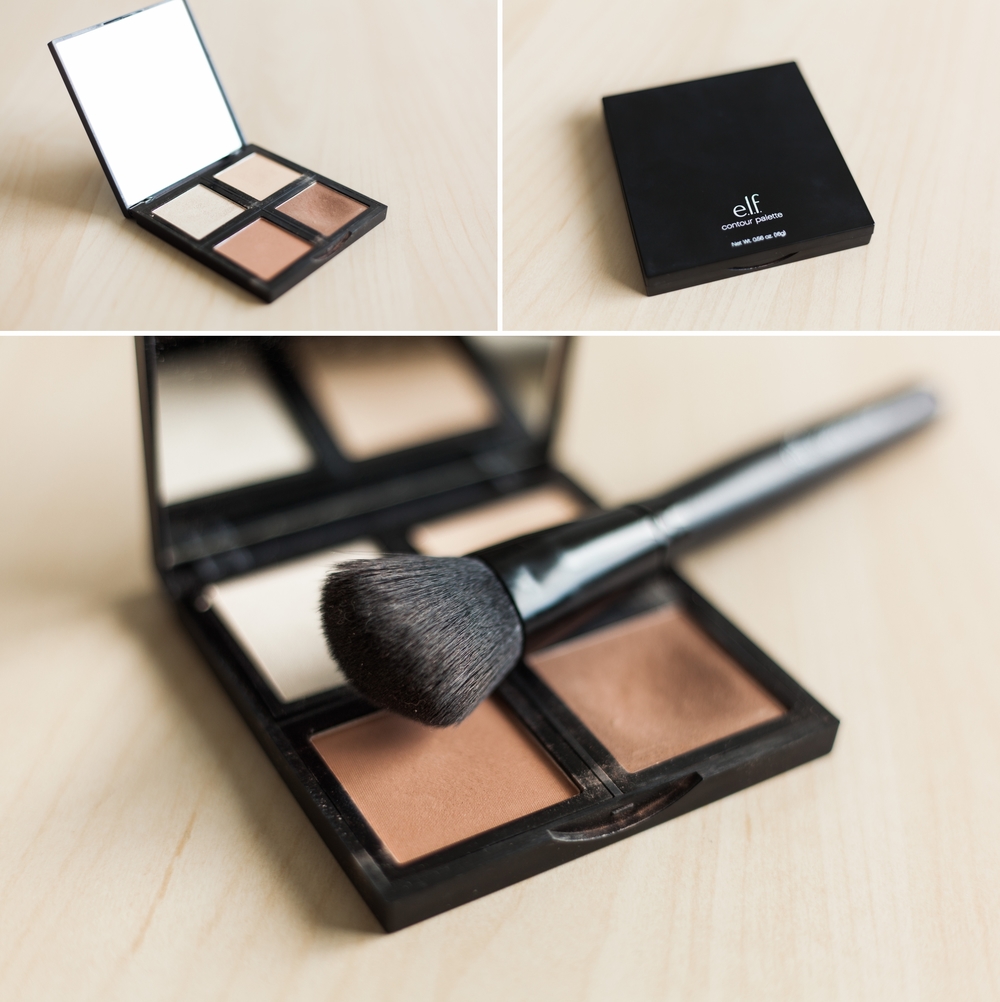 pictured here: e.l.f. Contour Palette and e.l.f. Angled Blush Brush
Contouring can seem intimidating but with a bit of practice, it’s really not so bad. The most important thing to remember is to blend, blend, blend! Or else you will look like…

…THIS! Unless you’re trying to rock football stripes, I would recommend running away as fast as humanly possible from this look.
In cases like this, the aforementioned beauty sponge blender will be your best friend! Simply rub it gently against any noticeable edges, and the contouring will look more natural in seconds.
For great contouring tips and to see a pro in action, I highly recommend watching Makeup Geek’s 1 Minute Contouring and Highlighting Technique video.
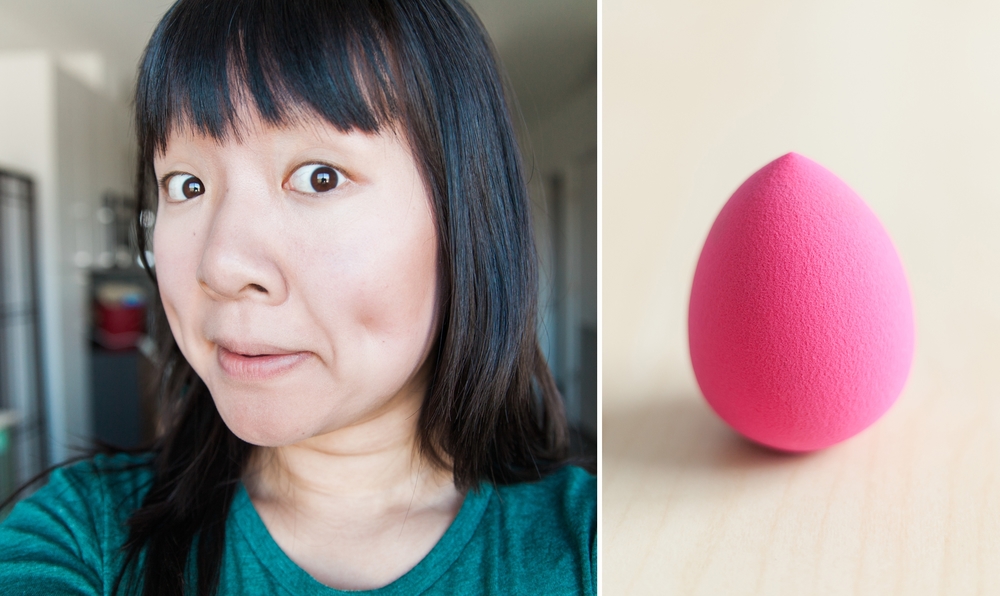 blending these bad boys away!
To help both the contouring powder and foundation last longer, lightly dust translucent powder using a kabuki brush over your entire face (avoiding the eyes).
 pictured here: e.l.f. Kabuki Face Brush and Rimmel Stay Matte Pressed Powder in Transparent
 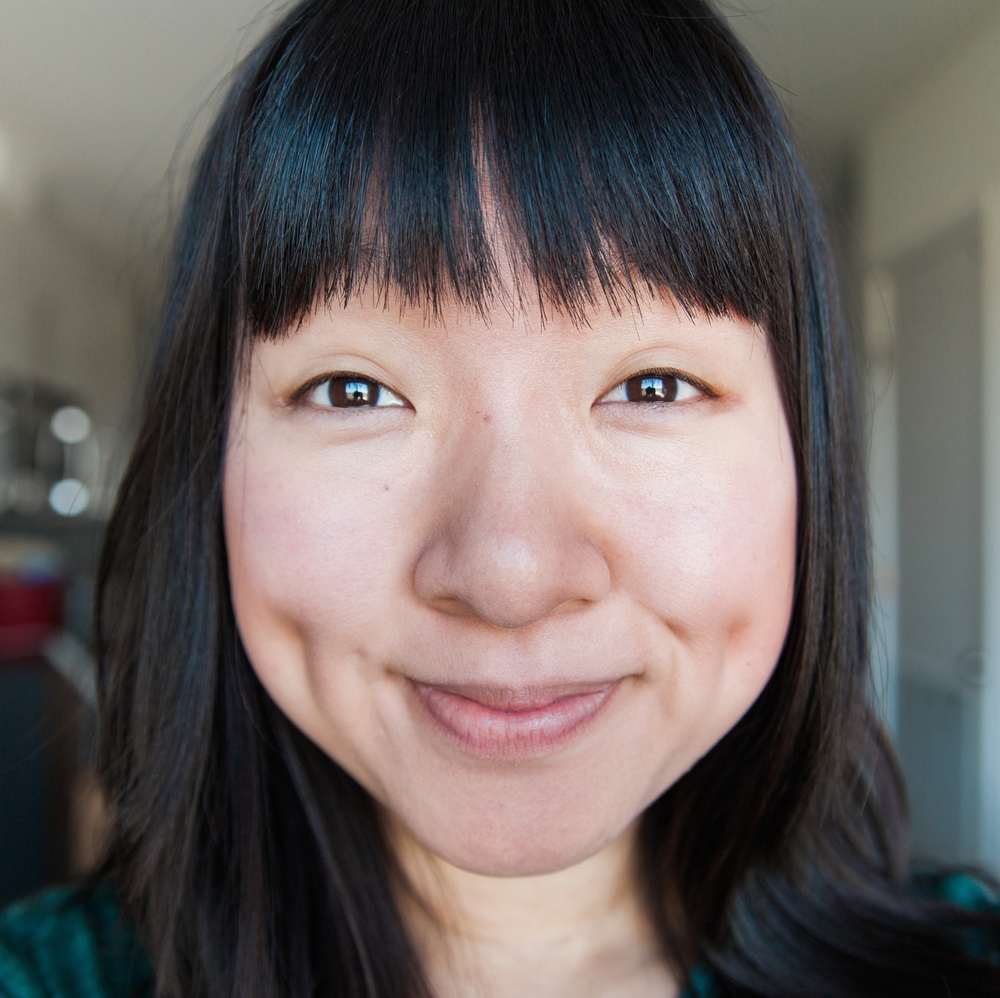 contouring applied under my cheekbones and around the sides of the ball of my nose to add some extra definition
Step 3: Fill in and groom eyebrows.
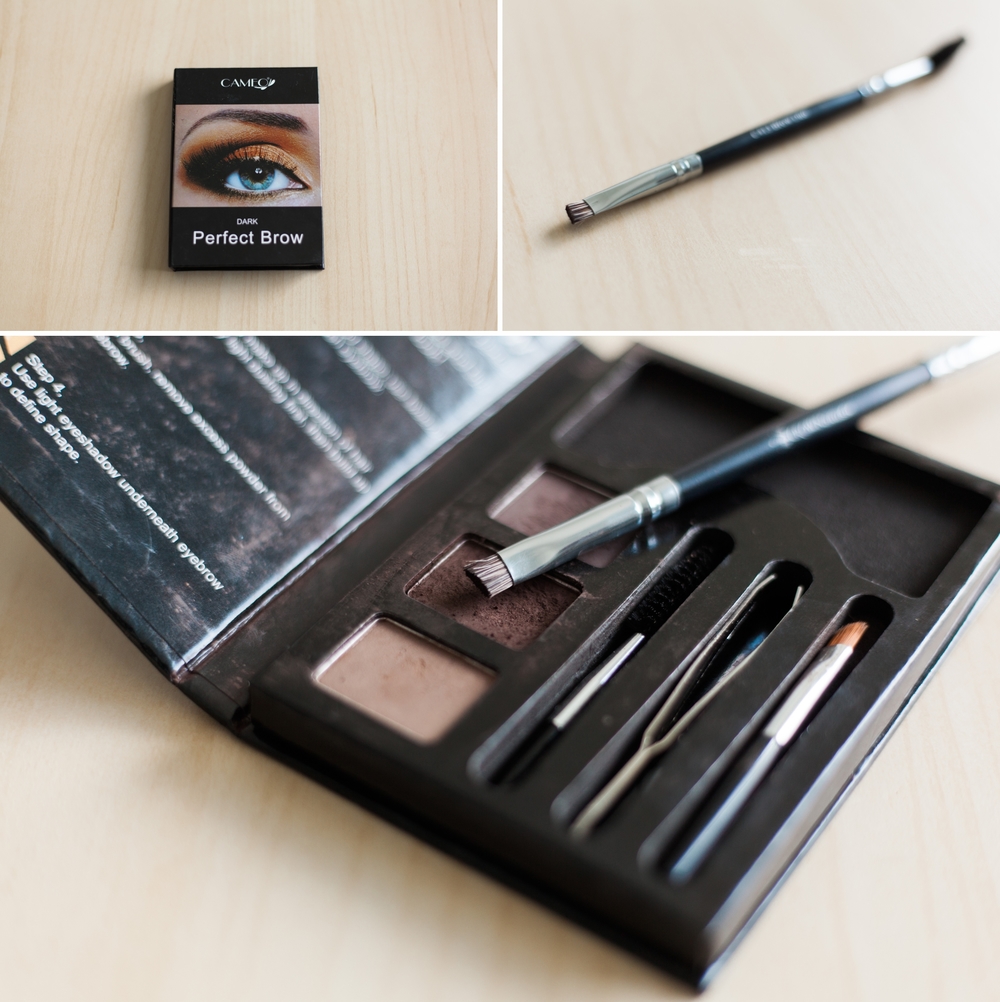 pictured here: Cameo Perfect Brow Kit and Crown Brush Brow Duo
I have really sparse, sheer eyebrows, and filling them in is a must, even though they’re usually hiding behind my bangs. I find that because eyebrows frame your face, defining and grooming them really helps you look more put together and alert.
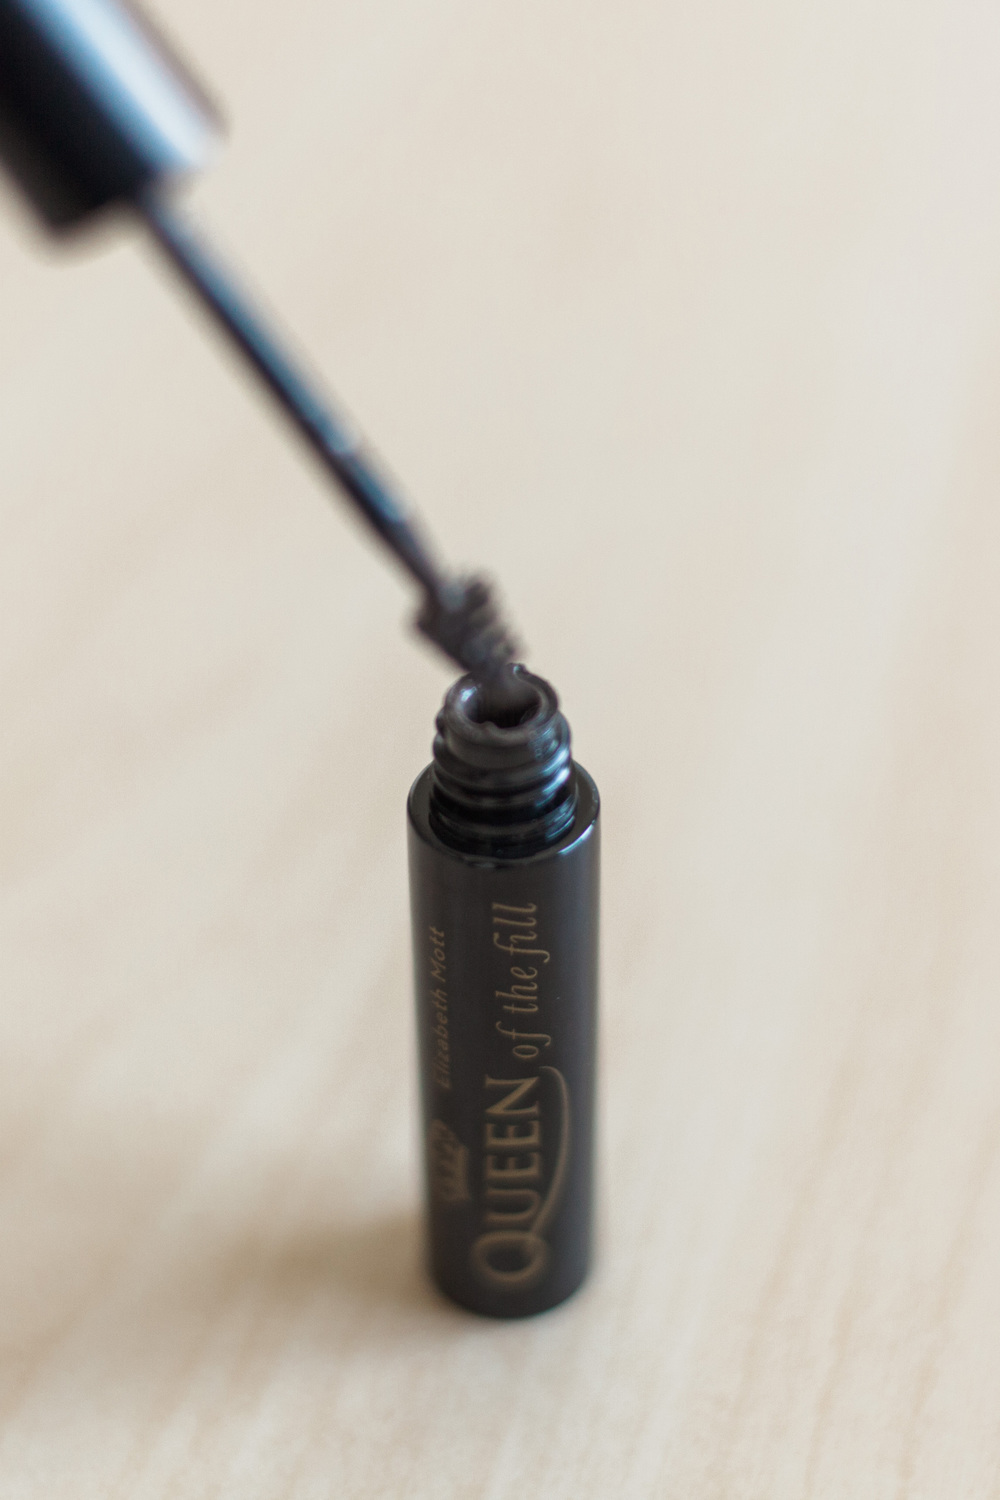
I usually apply a medium-to-dark brown powder with the stiff flat end of a dual eyebrow brush, and use the spoolie end to groom stray eyebrow hairs or lift out excess product. If you are more gifted in the eyebrow department than I am, a great, natural way to accentuate your eyebrows is to use tinted eyebrow gel, which grooms and defines at the same time. I’m a huge fan of Elizabeth Mott Queen of the Fill (in Medium Dark).
If I’m using eyebrow powder, I always set the color to make sure it lasts throughout the day. You can do this by lightly patting translucent or setting powder over your eyebrows with a stiff dome brush or concealer brush.
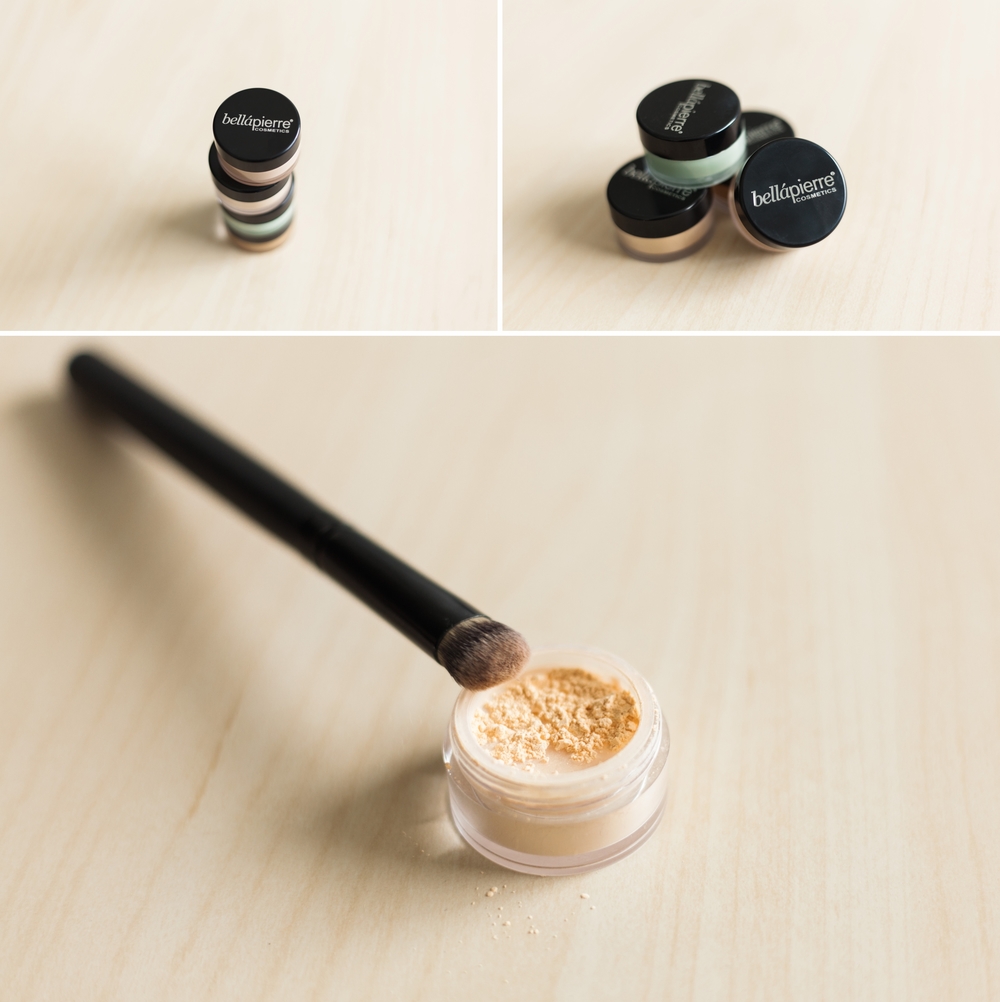 pictured here: Bella Pierre Extreme Concealing Kit with Banana Setting Powder and Concealer Brush
  eyebrows filled in with dark brown powder
If you aren’t sure what shape or color best suits your brows and skin tone, check out the “10 Tips to Perfect Brows” in Makeup Geek’s How to FIll in Your Brows tutorial. You can also watch the video, where she teaches a few different methods, including penciling.
Step 4: Add a touch of eyeliner.

Here’s where eye shape really comes into play. I have kind of a weird hybrid monolid/double lid eye shape, and to give my eyes a natural, subtle pop, I lightly apply a medium brown eyeliner just above the upper lash line, about one millimeter thick, blended into zero towards the middle of the eye and swept up into the corners. This gives me an understated, faux no-makeup look while still opening up my eyes a bit and helping me appear more awake.
Depending on your own eye shape, you may have to apply less or more to achieve the same effect. Beauty & the Boutique offers an adorable, infographic-style guide here.
When it comes to specific products, I am super picky, because I have oily eyelids that reject 90% of eyeliners out there, leaving me with panda eyes before lunch break even starts. Waterproof liquid eyeliner is great if I have time to be precise, but for everyday, I stick with pencils. So far, only three pencil liners have made the grade, and they are (in order of most expensive to least expensive): Urban Decay 24/7 Glide-On Eye Pencil, theBalm Cosmetics Mr. Write Now (pictured below), and Physician’s Formula Shimmer Strips Custom Eyeliner Trio. All three last from day to night, apply smoothly, and are water and smudge resistant.

Step 5: Love yo’ lips.


Healthy lips are happy lips, and happy lips make great smiles (and great pouts!). Make sure your lips are well moisturized, and they’ll love you right back.
Fresh Sugar Advanced Therapy Lip Treatment is a definite splurge, but nothing gets my lips from A to Z faster. One swipe, and they’re ready to conquer the world. It also greatly improves the texture of any lipstick when applied beforehand.
e.l.f. also makes a great budget option with their Lip Exfoliator, which buffs away dry skin to help your lips make the transformation from chapped to smooth.
For a touch of color, I like to add a tinted lip balm or a lipstick shade that is just a couple of shades darker than my natural lip color.
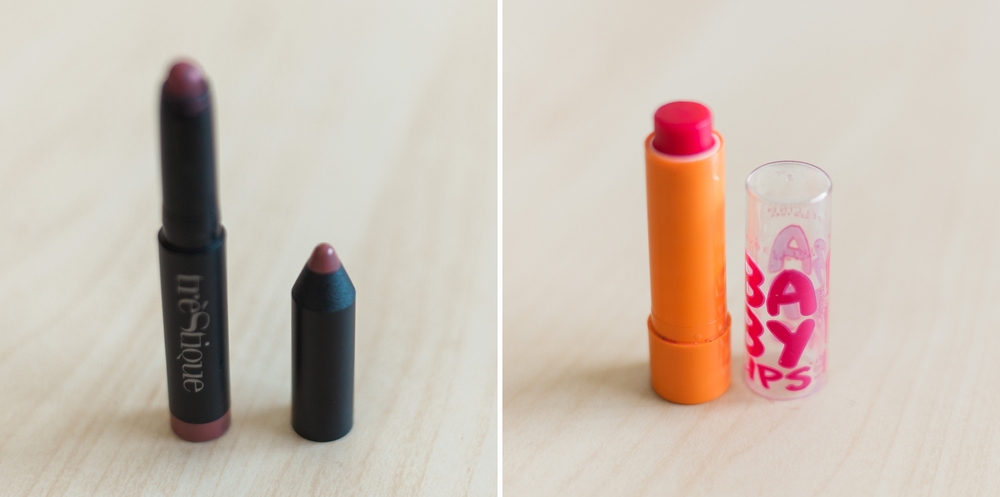 pictured here: tréStiQue Mini Matte Lip Crayon in Florence Fig and Maybelline Baby Lips in Cherry Me
  wearing Maybelline Baby Lips in Cherry Me
Optional Step 6: Layer it on!
Here’s a before and after of what we’ve done so far:
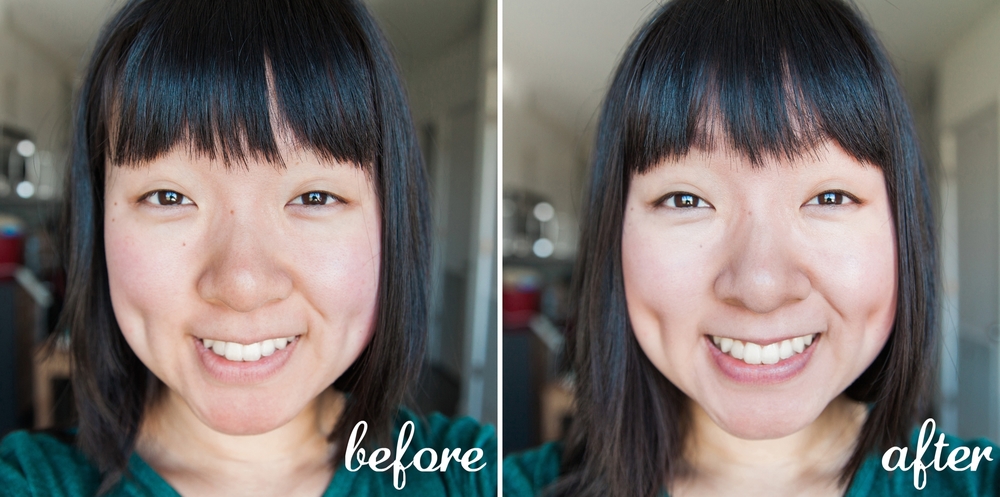
Pretty sweet, huh?
I’m a simple gal (and a bit lazy when it comes to makeup), so 95% of the time, this is where I’m ready to head out the door. If you want to take it one step further for more drama, simply layer on eyeshadow/eyeliner/lip color to your liking. This is a great springboard for a zillion other awesome looks.
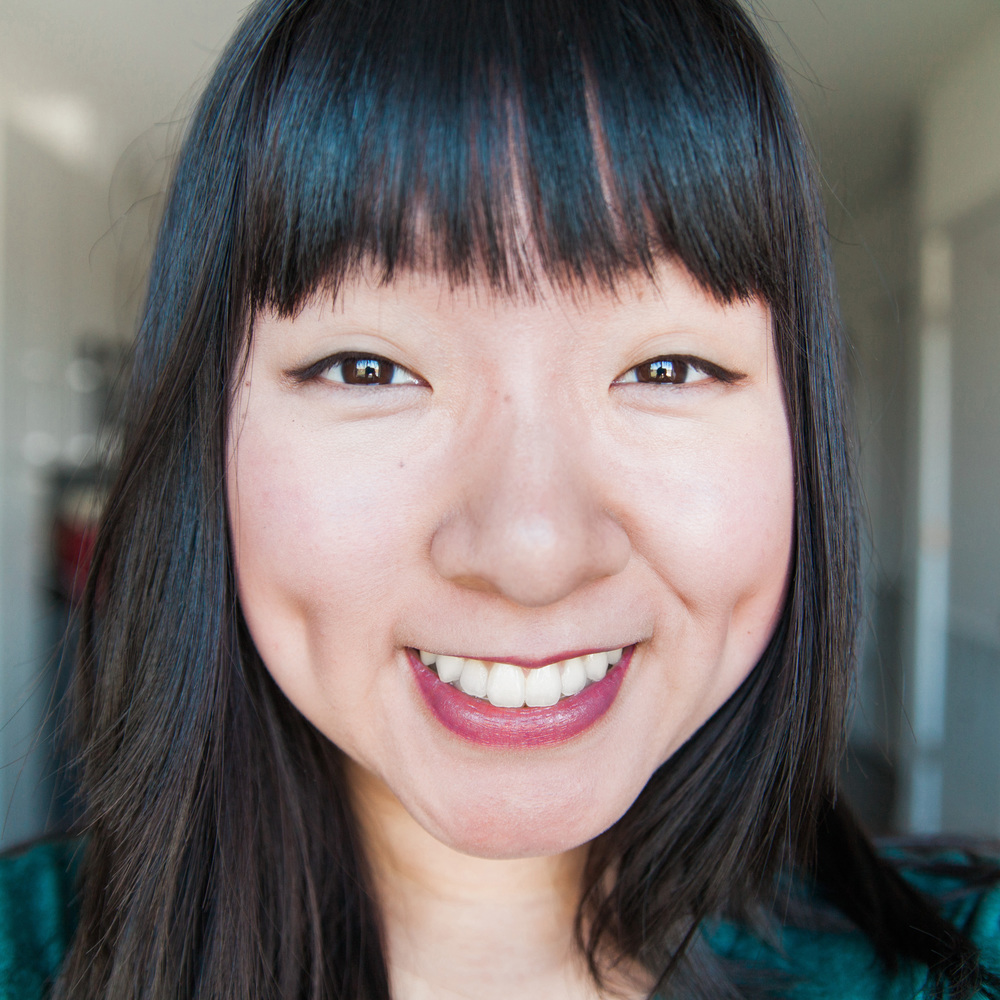 dark brown eyeliner applied to upper waterline and above upper lash line, smudged with gray eyeshadow to create a cat eye, plus bold lips using Rimmel Lasting Finish Matte Lipstick by Kate Moss in shade 107
  before, after, and after-after!
That’s all for now, folks! Thanks for joining me in my little makeup bubble, and I hope this post has been amusing if nothing else. 😉
Until next time!

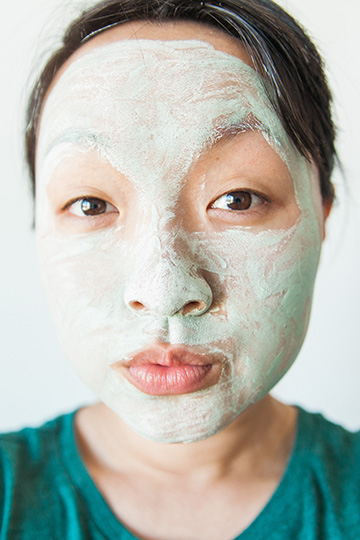 unleashing my inner she-Hulk, grwawr!